Before lighters and matches, people used nature and clever thinking to learn how to start a fire. Ancient techniques, rooted in survival and tradition, led to modern methods, often without needing tools. These traditional methods show that with patience, determination, and knowledge, you can start a fire like our ancestors did.
Explore ancient practices like hand drills from cottonwood and bow drills from cedar. These techniques, once crucial for survival, now offer a journey into self-reliance and a closer connection with nature. Let’s discover these skills and how they can still inspire us in a world of convenience.
The Science of Fire
Understanding the behavior of fire through the principles of combustion and thermodynamics can significantly enhance your ability to start fires under various conditions. Here’s a breakdown:
- Fuel: Typically wood, which is composed of combustible hydrocarbons such as cellulose, hemicellulose, and lignin. The quality and condition of the wood, especially its dryness, play a crucial role in the ease of ignition.
- Oxygen: Essential for sustaining any fire, the availability of oxygen is directly proportional to the airflow through the fire. The hotter the fire, the more oxygen it draws, thus supporting combustion.
- Heat: Generated through initial ignition activities such as friction or striking a spark. Heat transfer in a fire occurs through conduction, convection, and radiation, with radiant heat being a primary mechanism in managing the fire’s growth and stability.
Materials Required
Embarking on the challenge of how to create a fire without a lighter encompasses gathering the right natural supplies. The key components include a fireboard, spindle, and tinder—each made from specific wood types that vary in hardness and dryness for optimal use.
Firstly, identify suitable wood such as cottonwood, willow, aspen, cedar, or yucca, which are renowned for their ability to catch fire quickly due to their soft textures. These materials are inherently dry and relatively easy to work with, increasing your success rate in fire creation.
- Fireboard: This should be a flat piece of wood that serves as the catching pan for hot embers.
- Spindle: A stick typically made from the same type of wood as the fireboard; its purpose is to generate friction.
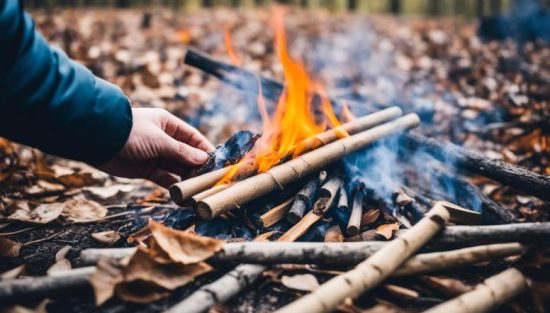
- Tinder: Quick-to-ignite materials such as dry leaves, grass, or small twigs accumulated to catch the ember produced by the spindle and fireboard.
Additional tools to consider include:
- Handhold: A stone or another piece of wood used to pressure the top of the spindle.
- Bow: Used to drive the spindle into rotational motion, enhancing the friction against the fireboard.
- Bark or thin wood pieces: Helps to catch the ember and allows for safe transfer to the tinder bundle.
Mastering the Hand Drill Method
Mastering the hand drill method for starting a fire is a valuable skill. This technique uses only a spindle and a hearth board, relying on friction to create a coal. You need a dry, soft wood spindle and a hearth board, with mulefat and cedar being good choices. Carve a shallow depression and a V-shaped notch in the hearth board, then vigorously roll the spindle between your palms to generate heat.
Once you see smoke, stop and gently blow on the ember, transferring it to a tinder bundle of dry grass or leaves to nurture the flame.
For beginners practicing how to start a fire with wood, consider these tips:
- Wood Choice: Use softer wood for both the spindle and hearth board to reduce the effort needed to create friction.
- Moisture Content: Ensure the wood is dry, as moisture hampers the ability to generate sufficient friction.
- Notch Accuracy: Carve your notch carefully to ensure it collects enough wood dust while allowing enough air to feed the forming ember.
Mastering how do I light a fire using the hand drill method can be highly rewarding, echoing the innate survival skills of our ancestors. It might take patience and persistence, but the thrilling moment when your first ember turns into a flame is both triumatical and empowering.
| Spindle Wood | Hearth Wood | Effectiveness Rating |
|---|---|---|
| Mulefat | Cedar | High |
| Mulefat | Willow | Medium |
| Elderberry | Ash | Low |
Experiment with these combinations to find which works best for your environment and skill level, and enjoy the challenge of lighting a fire with the basic tools of nature.
Creating Fire with the Fire Plough
Mastering the fire plough method involves understanding the friction and mechanics needed to create heat and tinder. By vigorously rubbing a harder shaft against a softer wood base, fine wood particles are pushed ahead, heating up and igniting to form an ember. The key to success lies in effectively managing friction and pressure. Choosing the right wood and maintaining the correct plough dimensions, such as a 30 cm length and a 10 mm wide squared-off tip, is crucial. This technique demonstrates the art of generating fire through traditional skills and precise control.
For those who are new to this method, the challenge often lies in consistently creating enough dust and heating it to the point of forming embers.
Here are some tips based on practical experience:
- Maintain a base log or stick with a groove at least three inches long to ensure enough room for movement and speed.
- Use a base wood with a diameter of at least 8 cm to avoid breakage and ensure stability during the process.
- Apply sufficient speed and pressure during the ploughing process to optimize wood dust accumulation necessary for ember formation.
- Carve small wood curls at the end of each stroke to stop the blade consistently and collect the dust effectively.
Mastering these fire starting skills can take practice, and performance can improve significantly over time. Achieving the first successful ember might be challenging, but with persistence and proper technique, you could reach a point where you can ignite a fire in under seven seconds under dry conditions.
If you encounter issues with the groove depth during your fire plough efforts, there’s a strategic approach to address this. Avoid deepening the groove excessively, which can impede dust formation. Instead, try shifting your pressure 45 degrees outward to widen the groove rather than deepening it further, ensuring continuous dust accumulation vital for ember creation.
| Wood Type | Plough Shaft Hardness | Base Wood Diameter | Effective Wood Combos |
|---|---|---|---|
| Cottonwood | Harder than base | At least 8 cm | Cottonwood and Sotol |
| Sotol | Comparatively softer | At least 8 cm | Sotol and Cedar |
How to Start a Fire with a Pump Drill?
Mastering ancient survival skills such as fire building techniques can be both a rewarding hobby and a practical survival skill. One of the more advanced methods developed by the Iroquois is the pump drill. A pump drill enhances the efficiency of starting fires by using a flywheel mechanism to maintain and regulate the speed necessary for creating friction and, ultimately, an ember.
This technique, though intricate, uses simple materials that belie its effectiveness. Here’s a guide to how you can start mastering this ancient skill.
- Setup Your Pump Drill: Begin by assembling your pump drill. The spindle should be about 8-12 inches long with a diameter of 3/4 inch, tapering to a point at one end and rounded on the other end for efficient rotation.
- Select Your Fireboard: Choose from the preferred woods such as cottonwood, cedar, or sassafras. The fireboard’s thickness should range from 1/2 to 3/4 inches, ensuring it’s at least twice as wide as the spindle for stability.
- Prepare the Flywheel: Craft a flywheel from a dense material like steatite; this adds the necessary mass to maintain momentum in the drill. Secure this flywheel near the bottom of the spindle.
- Attach the Cord: Use a durable cord such as latigo leather or in its absence, parachute cord. This cord loops around the spindle and attaches to the crossbar of the pump drill, allowing you to control the spindle’s rotation with downward pressure.
As you operate the pump drill, focus on maintaining a steady, downward pressure while ensuring the spindle’s pointed end rotates against the fireboard. The generated friction heats the wood, and with proper technique, creates an ember in the notch of your fireboard.
- Monitor Friction and Heat: Continue drilling until you notice smoke, signifying the wood is hot enough to form an ember. This may take some time initially as you adjust the pressure and speed.
- Transfer the Ember: Once the ember is formed, carefully transfer it to a pre-prepared nest of tinder. Good tinder materials include herbs like sagebrush or soft fibrous materials like cattail fluff.
- Nurture the Flame: Gently blow on the tinder nest to encourage the ember to ignite into a flame. This is where patience and a steady hand are crucial.
Remember, mastering the pump drill technique requires practice and understanding of these fire building techniques. Spend time practicing with various materials to understand how different woods and tinders affect the ember’s formation. Your ability with these ancient survival you’ll become adept at bringing warmth and light to any situation.
Perfecting the Bow Drill for Reliable Ignition
Mastering how to start a fire with sticks using the bow drill technique is a quintessential skill for any outdoor enthusiast or survivalist. The key to effective bow drill use is understanding its mechanics and ensuring you have the proper materials and setup.
Understanding the Mechanics of the Bow Drill
The bow drill involves a bow, spindle, fireboard, and bearing block. The bow, strung with a cord (preferably a paracord for its durability and grip), is used to rotate the spindle vigorously. This action creates friction against the fireboard, generating heat sufficient to produce an ember. The success of creating fire lies in the consistent speed and pressure applied during the drilling, coupled with the quality and compatibility of the materials used.
Finding the Ideal Combination of Fireboard and Spindle
Choosing the right materials for your bow drill is crucial for success. Softwoods generally make the best fireboards and spindles as they are easier to ignite due to their lower combustion temperatures. Here are some recommended woods and configurations:
- Recommended Woods: Cedar, Willow, Basswood, Cottonwood, and Balsam Fir are excellent choices for both spindles and fireboards.
- Size Specifications: A spindle should be about ¾ inch thick and 4-5 inches long, while the fireboard should be approximately ¾ inch thick and 2-3 inches wide.
- Preparing the Fireboard: Start by making a starter hole about 1/8 inch deep and ¼ inch wide in the fireboard to snugly fit the bottom of the spindle.
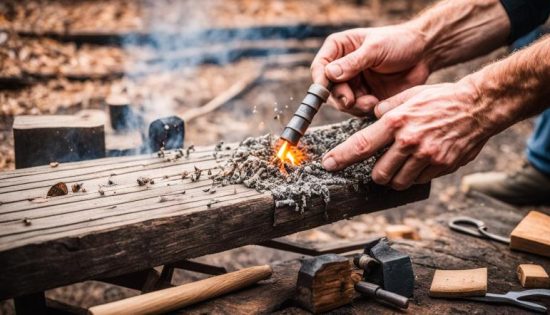
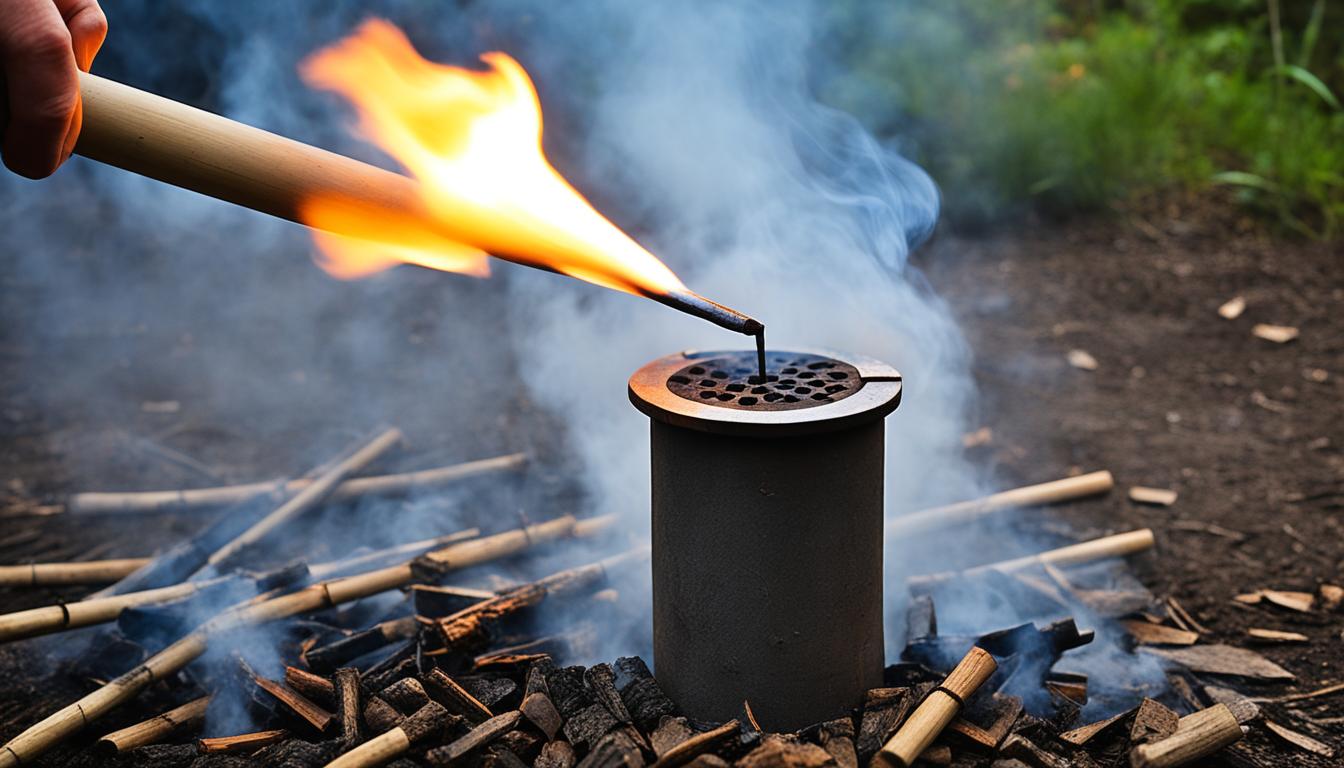
Ancient Air Compression: The Firepiston Technique
The firepiston method ingeniously uses rapid air compression to generate heat, similar to a bicycle pump, reaching temperatures over 800 degrees Fahrenheit to ignite tinder. Made from materials like hardwood, bamboo, or horn, its effectiveness relies on an airtight seal, often created with a greased leather gasket. This seal ensures the necessary pressure build-up to produce the intense heat needed for fire creation.
- Fire piston’s capability to reach temperatures over 800 degrees Fahrenheit makes it a reliable tool in diverse conditions.
- Historically, the use of firepistons was noted across Burma, the Malay Peninsula, and other parts of Southeast Asia as far back as 1865, underlining its widespread adoption.
- The evolution from stone-age fire starting tools to the refined European devices in the early 1800s illustrates a significant technological leap.
The table below provides an insightful glance at the historical context and technological details that chart the journey of firepistons from ancient utility to modern recreations.
| Date/Period | Event | Significance |
|---|---|---|
| Pre-1800s | Initial use in Southeast Asia | Demonstrates early adoption in regions like Borneo and the Malay Peninsula |
| 1807 | Patented in England | Marks recognition and standardization of the firepiston as a reliable fire starting tool |
| 1970s | Trade of a firepiston for modern implements | Indicates the valued utility and cultural exchange involved around the firepiston |
| Modern Times | Re-enactment and survival usage | Highlights the continued relevance and effectiveness of the firepiston in primitive skills training |
Igniting Flames with Flint and Steel
Embarking on the journey to master the ancient sparking methods of fire starting can transport you back in time, to an era before modern conveniences made creating a fire a mere afterthought. Among these time-honored techniques, using flint and steel has been a fundamental skill, revered and practiced diligently by countless generations.
Techniques for Successful Spark Creation
To successfully create those crucial flint and steel sparks, it’s essential to strike a piece of flint against softer steel correctly. Whether you’re utilizing a curved steel striker or the back of a high-carbon steel knife, the angle and force of your strike are paramount. The goal is to shave tiny particles off the steel, which will then ignite upon contact with the air. Historically, this method was not just a means of survival but a practiced skill among re-enactors of periods such as the Revolutionary War, highlighting its cultural and historical significance.
Preparing the Perfect Tinder for Catching Sparks
Once you’ve mastered the spark, catching it effectively is your next crucial step. The ideal tinder for flint and steel is characterized by its dryness and fluffiness, qualities that help nurture a minuscule spark into a steady flame. Traditionally, materials such as the outer bark of juniper or cliffrose and fibers from dead stalks of nettle or milkweed are preferred. These substances are prepared by keeping them dry and fluffing them out to maximize their surface area, which enhances their ability to catch sparks efficiently.
Here is an informative rundown of the effectiveness and requirements associated with starting a fire using flint and steel:
The specificity of required materials makes it less reliable in unplanned situations.
| Material/Tactic | Success Rate | Notes |
|---|---|---|
| Dry Wood and Kindling | ~80% | Necessitates dry conditions for optimal results. |
| Controlled Airflow (Gentle Blowing) | ~75% | Increases the chances of maintaining the flame once ignited. |
| Char-cloth | High | Most commonly used intermediary for catching sparks. |
| Additional Ignitables (e.g., Steel Wool, Gunpowder) | High | Can be ignited effectively by flint and steel sparks. |
| Survival Scenarios | Low |
Despite the practical challenges, engaging with flint and steel is more than just a survival skill—it’s an enjoyable, enriching activity that connects you with historical practices and the elemental forces of nature.
Modern Adaptations: Magnesium and Steel Fire Starting
Modern fire starting tools, like magnesium fire starters, offer reliability and efficiency, especially in adverse weather. These tools generate sparks by scraping magnesium shavings and striking them with steel, producing high temperatures that ignite various tinders. To use, scrape magnesium shavings, then strike to create sparks that set the tinder ablaze. Handle with care due to magnesium’s intense burning properties and keep shavings dry and safe. This method combines ancient spark-based techniques with modern materials, making it essential for survival and outdoor adventures
From Practice to Mastery: Tips for Fire Building Success
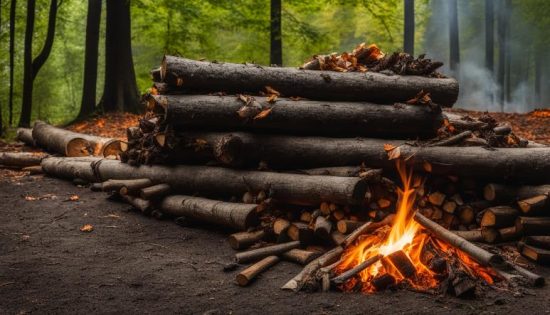
Mastering ancient fire-starting techniques requires patience and dedicated practice. Begin by efficiently arranging dry materials like clothing lint, shredded tree bark, or pine needles into a tinder bundle that easily catches a spark. Use dry, pencil-thin sticks or feather sticks for kindling, and collect larger, dry firewood to sustain the flame.
Dead wood ignites better than moisture-laden green wood, and experimenting with structures like the teepee or log cabin helps understand oxygen flow. Maintain a calm mindset, as it significantly impacts your success. Always respect your environment, adhere to wildfire prevention measures, and ensure your fire site is safe. Extinguish your campfire thoroughly and practice responsible fire-making to balance survival skills with nature conservation.
FAQs on how to make fire?
What are some ancient fire building techniques?
Ancient fire building techniques include hand drills, fire ploughs, bow drills, pump drills, and using firepistons or flint and steel. These traditional fire-starting methods rely on generating heat through friction or sparks without modern conveniences.
Why is fire hard to start without modern tools?
Fire is challenging to start without modern tools because it requires reaching a specific ignition temperature through generating enough heat or sparks. This heat must be produced using manual techniques such as friction or striking, which are less efficient than modern methods and require a good understanding of materials and proper techniques.
What is the fire plough technique, and how does it work?
The fire plough technique employs the motion of moving a hard shaft up and down a groove in a softer wood fireboard. The friction generates hot wood particles that form an ember, which is then used to ignite a tinder bundle.